Converting documents by going into each one and then saving them in a different format is time-consuming and, let’s face it, tedious. That’s why Vertr was created: to remove this dull, lengthy process and replace it with a way to convert multiple files simultaneously! So, how do you convert multiple SharePoint files at once? Let’s find out!
To ensure that you can convert within SharePoint, you must have installed our conversion tool, Vertr.
You can set up a free trial today and start using it immediately. It’s then really easy to upgrade to a paid plan to roll it out company-wide. Or if it’s just for you or a small team, we have a free plan!
If you want to discover how to convert multiple file formats simultaneously, you have options!
We have created both a step-by-step guide and a video. So you can learn in the best way that suits you.
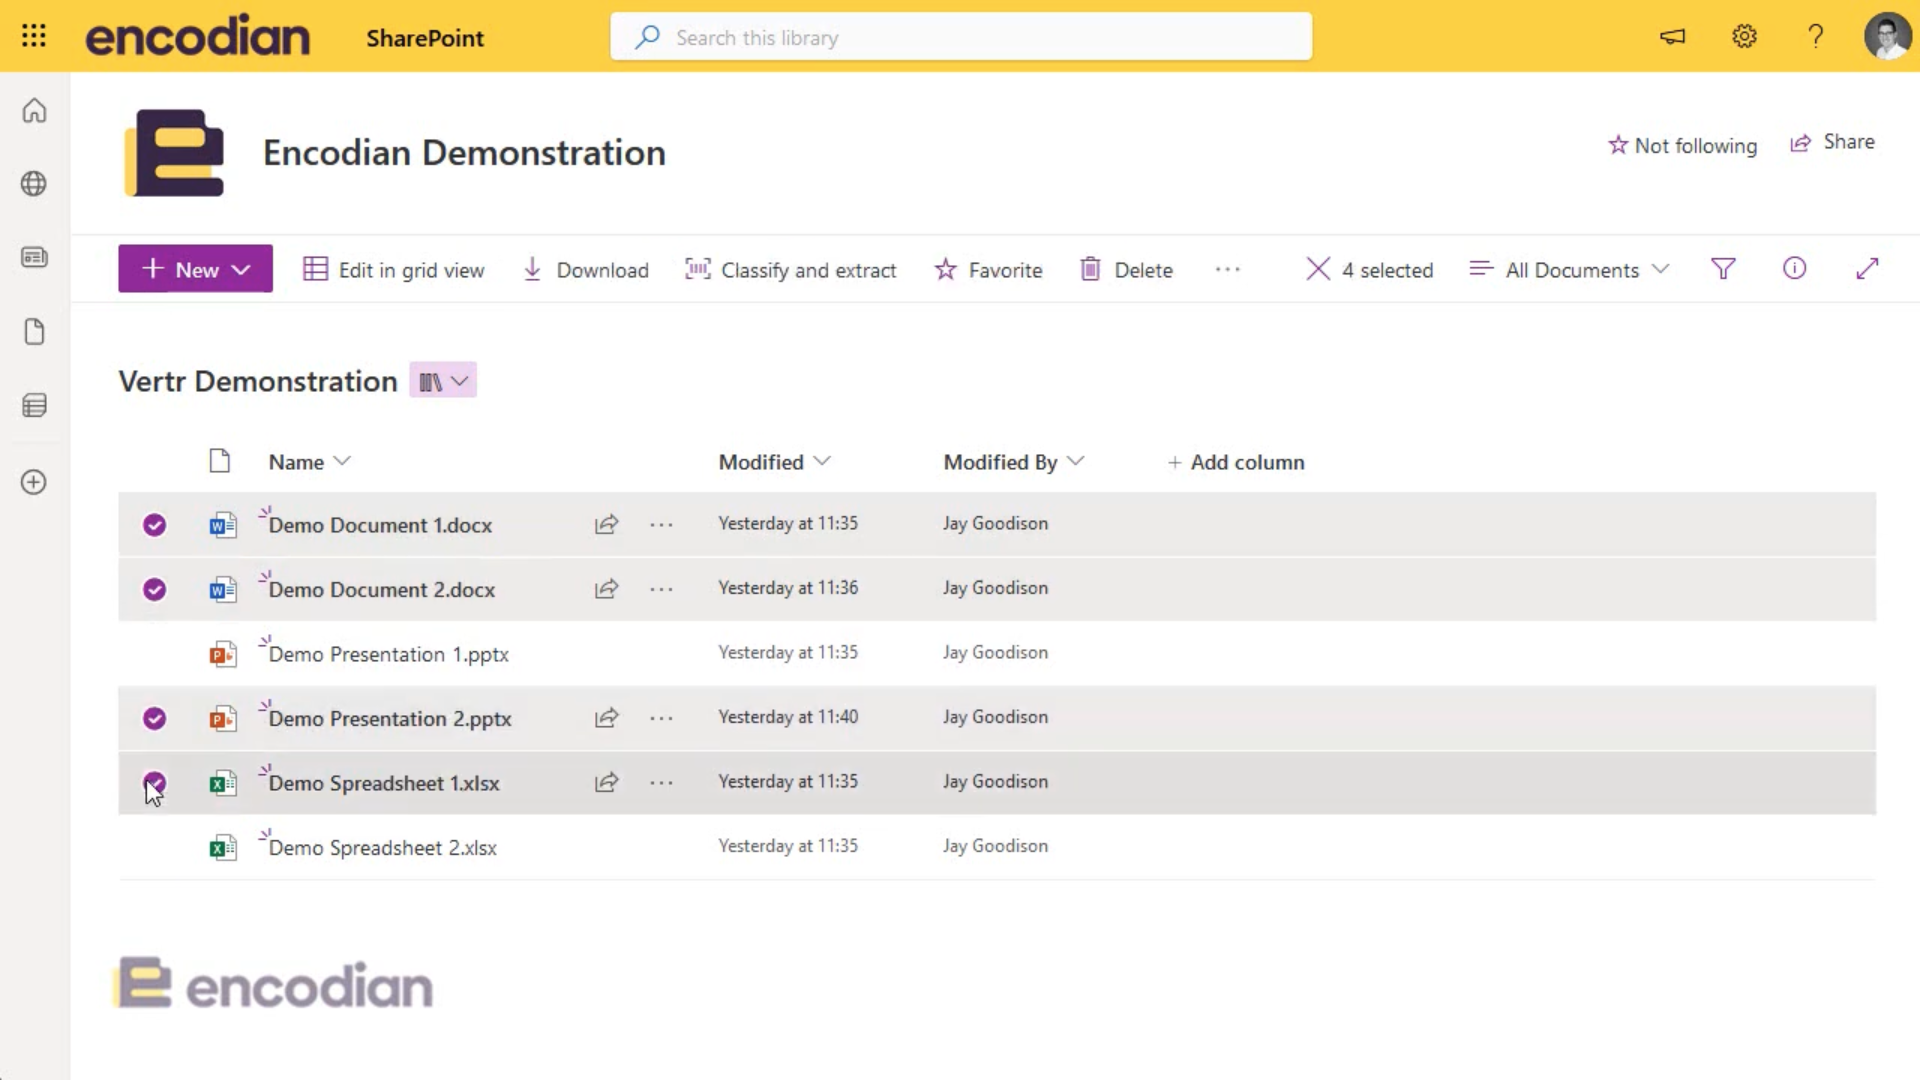
Select whichever files you would like to convert directly from SharePoint. You don’t need to select the same file types or worry about only selecting documents you want to convert to PDF, for example, as you will choose what you want each individual file to convert to later.
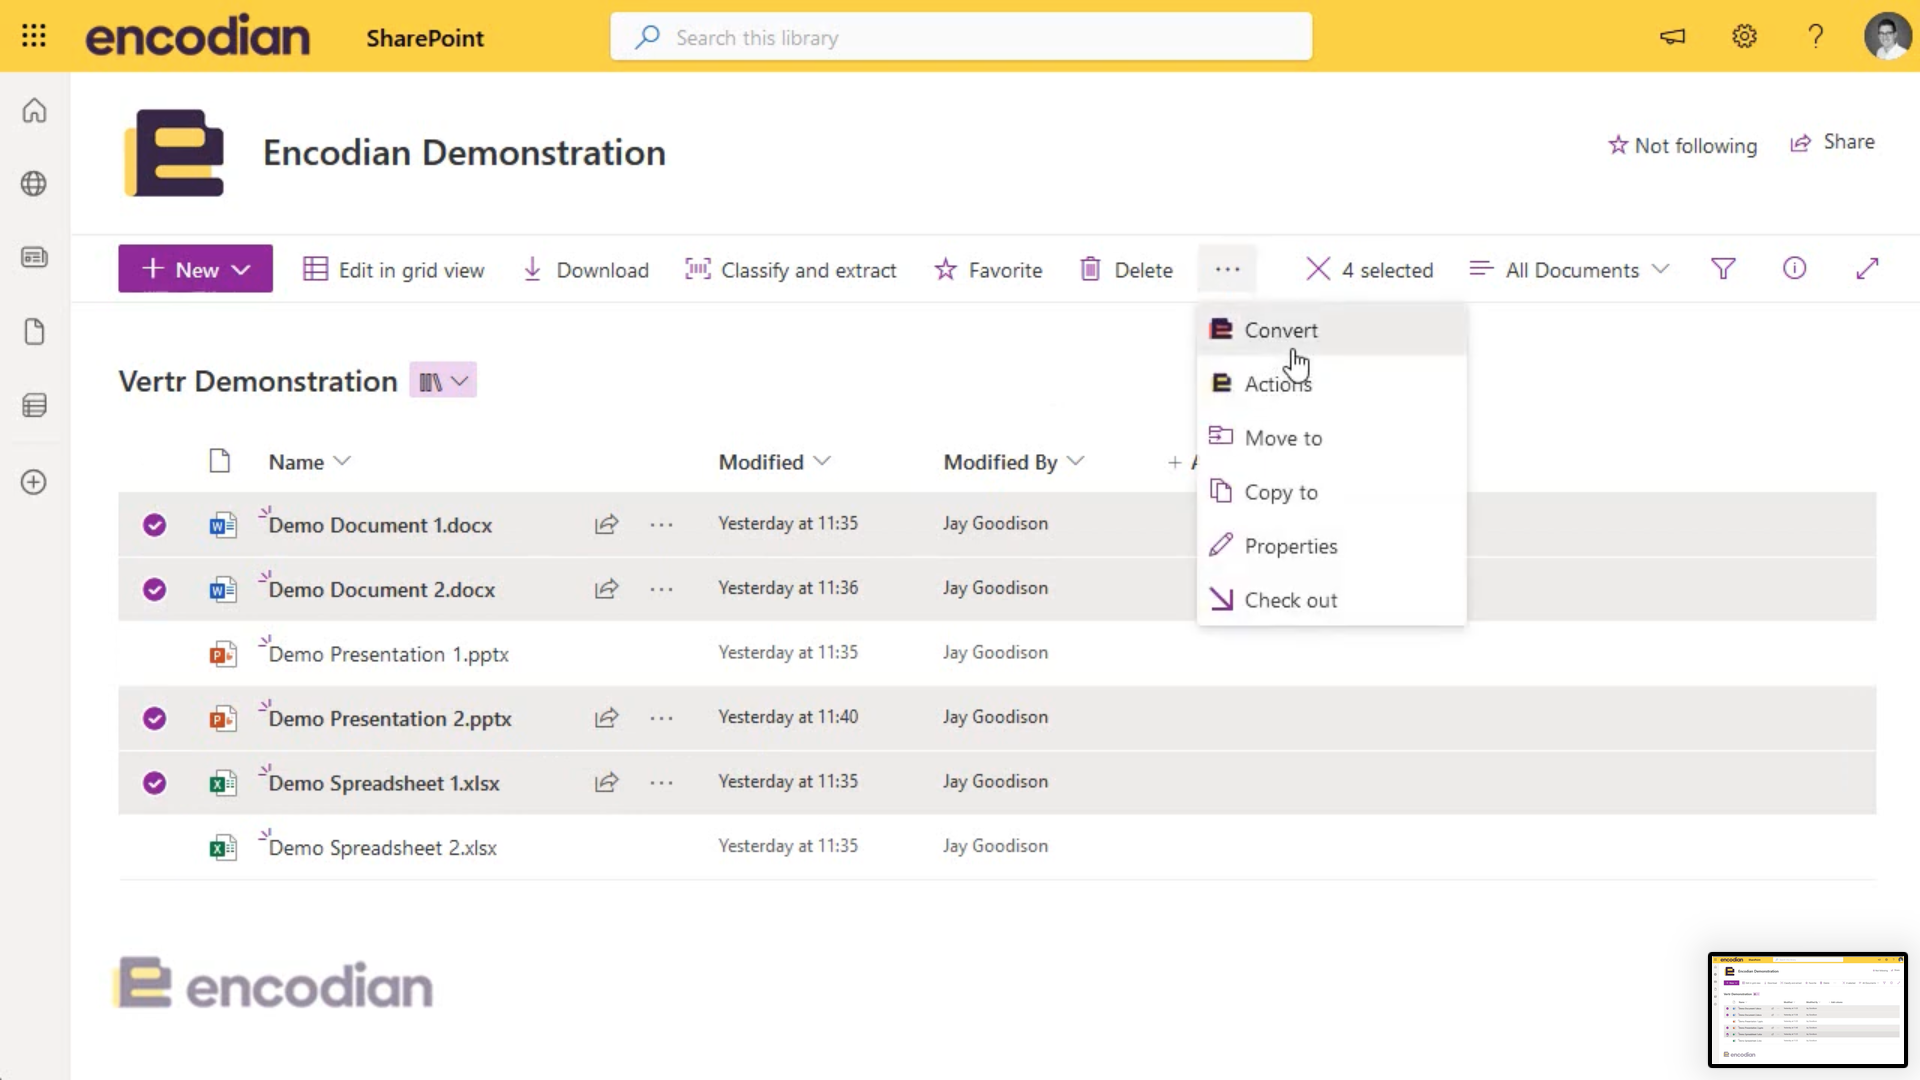
You can do this in the top toolbar. You may need to click the ellipsis to see it.
Make sure you have installed Vertr properly – see our documentation.
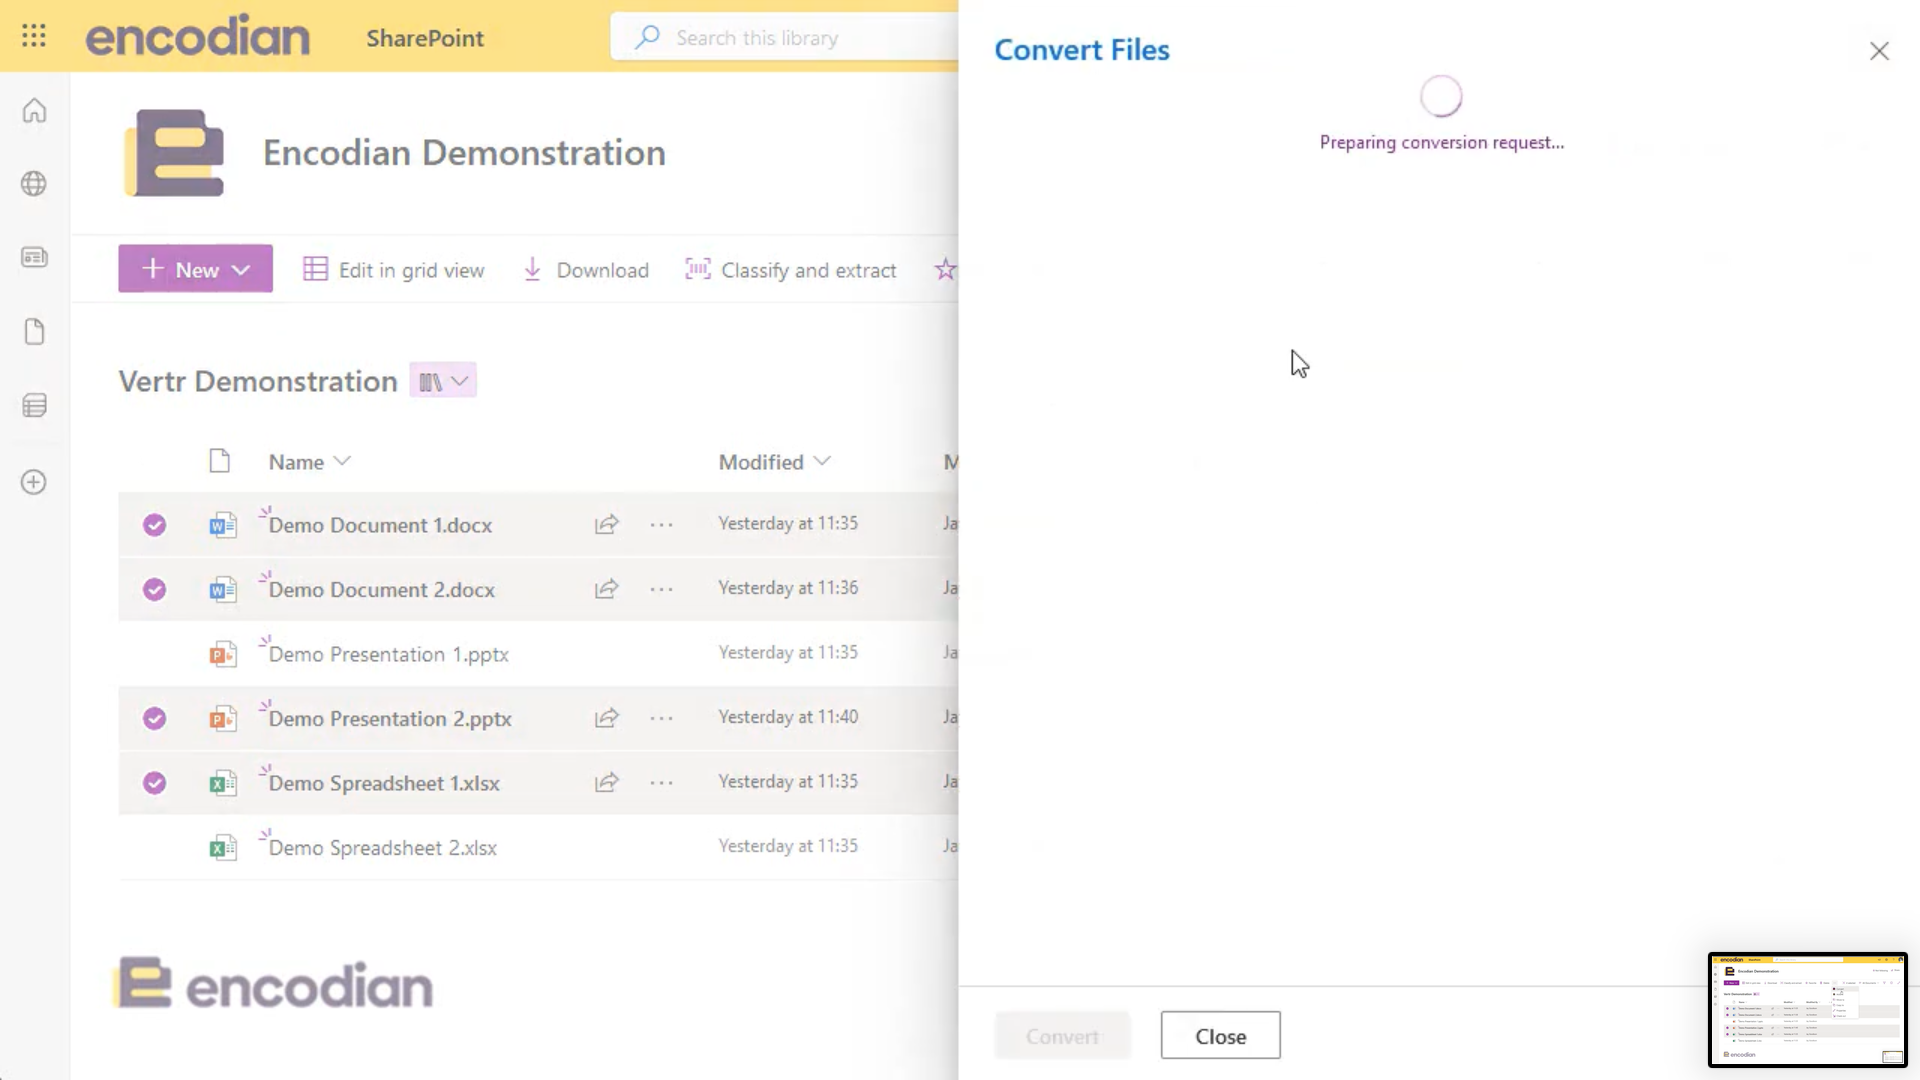
To ensure you’re not trying to convert something like a folder, we run some pre-conversion checks o your experience is seamless.
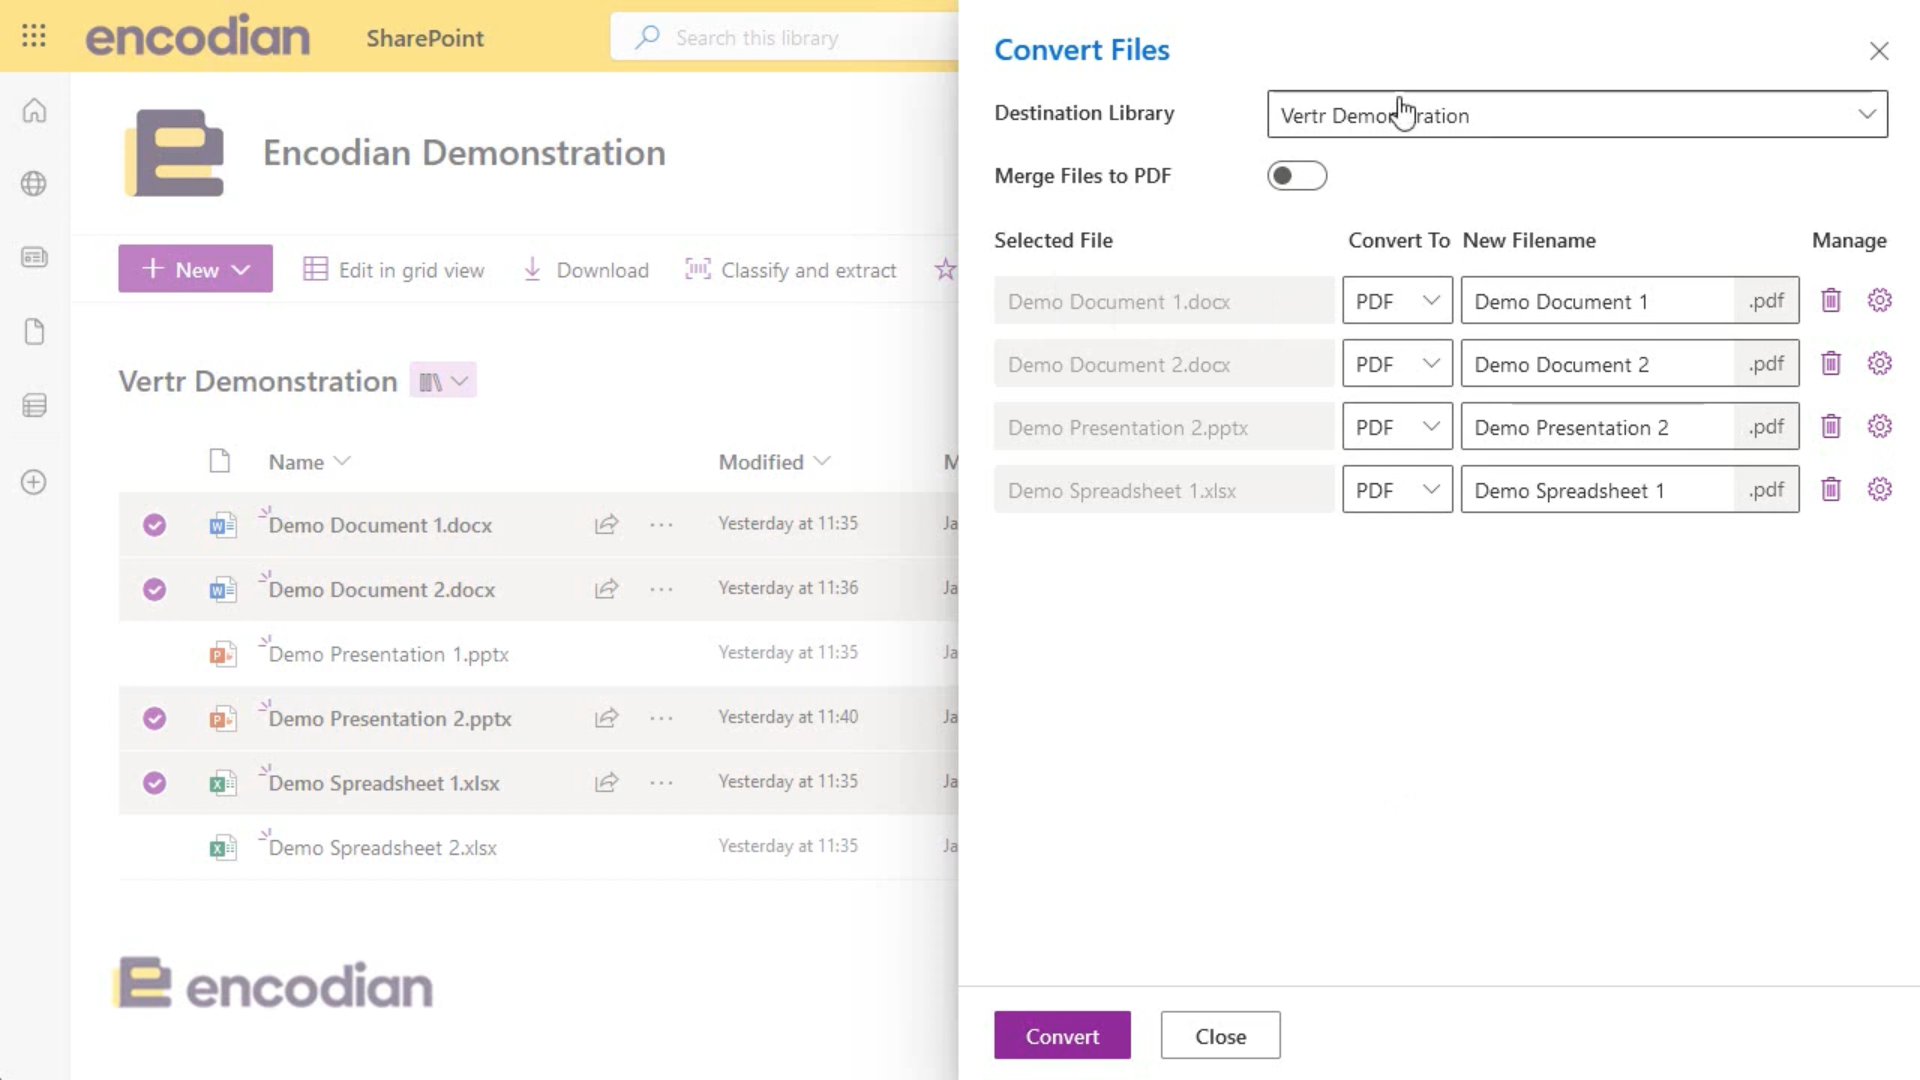
Choose where you want to save your new documents. It can be anywhere you have access to in SharePoint!

If you realise you have selected a document you don’t need to convert, you can delete it here rather than starting all over again!
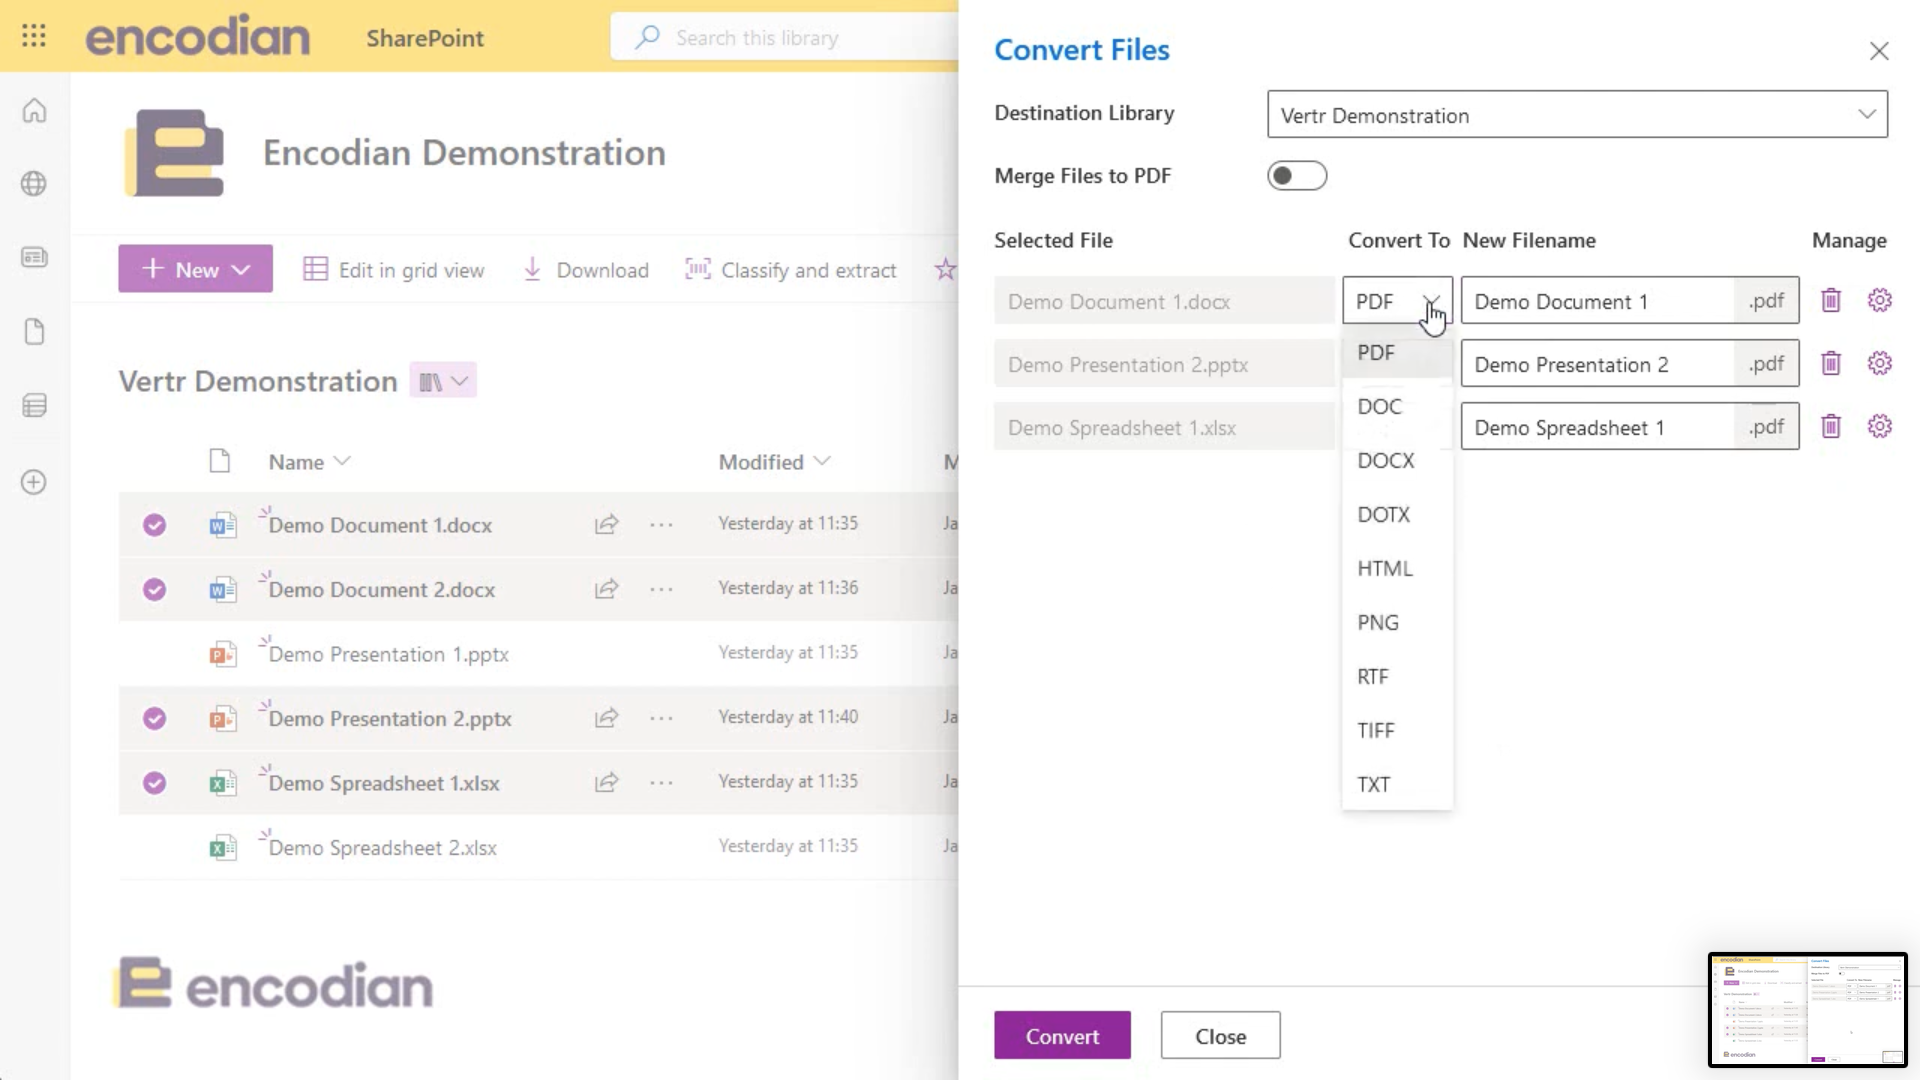
Each inputted file format has specific output file formats. Check out all our conversion possibilities.
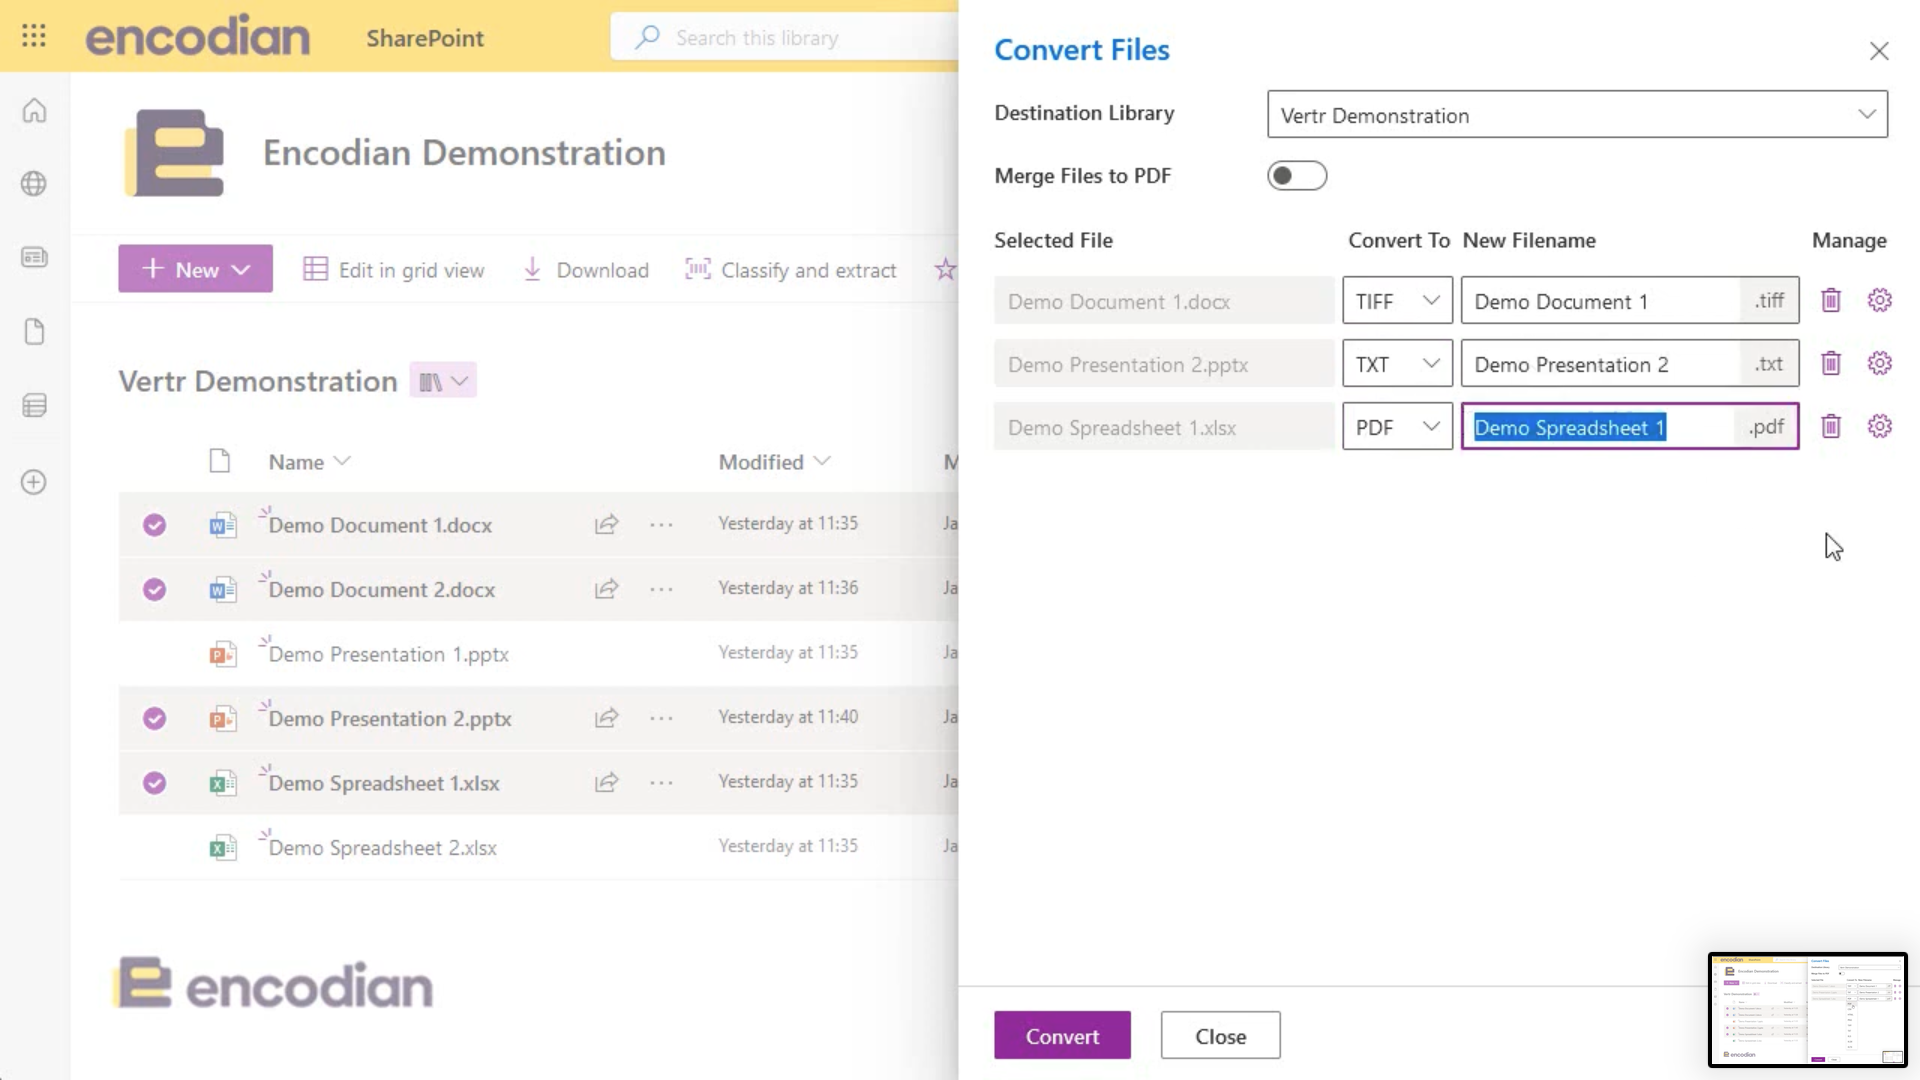
If you want to rename your document, you can do so here.
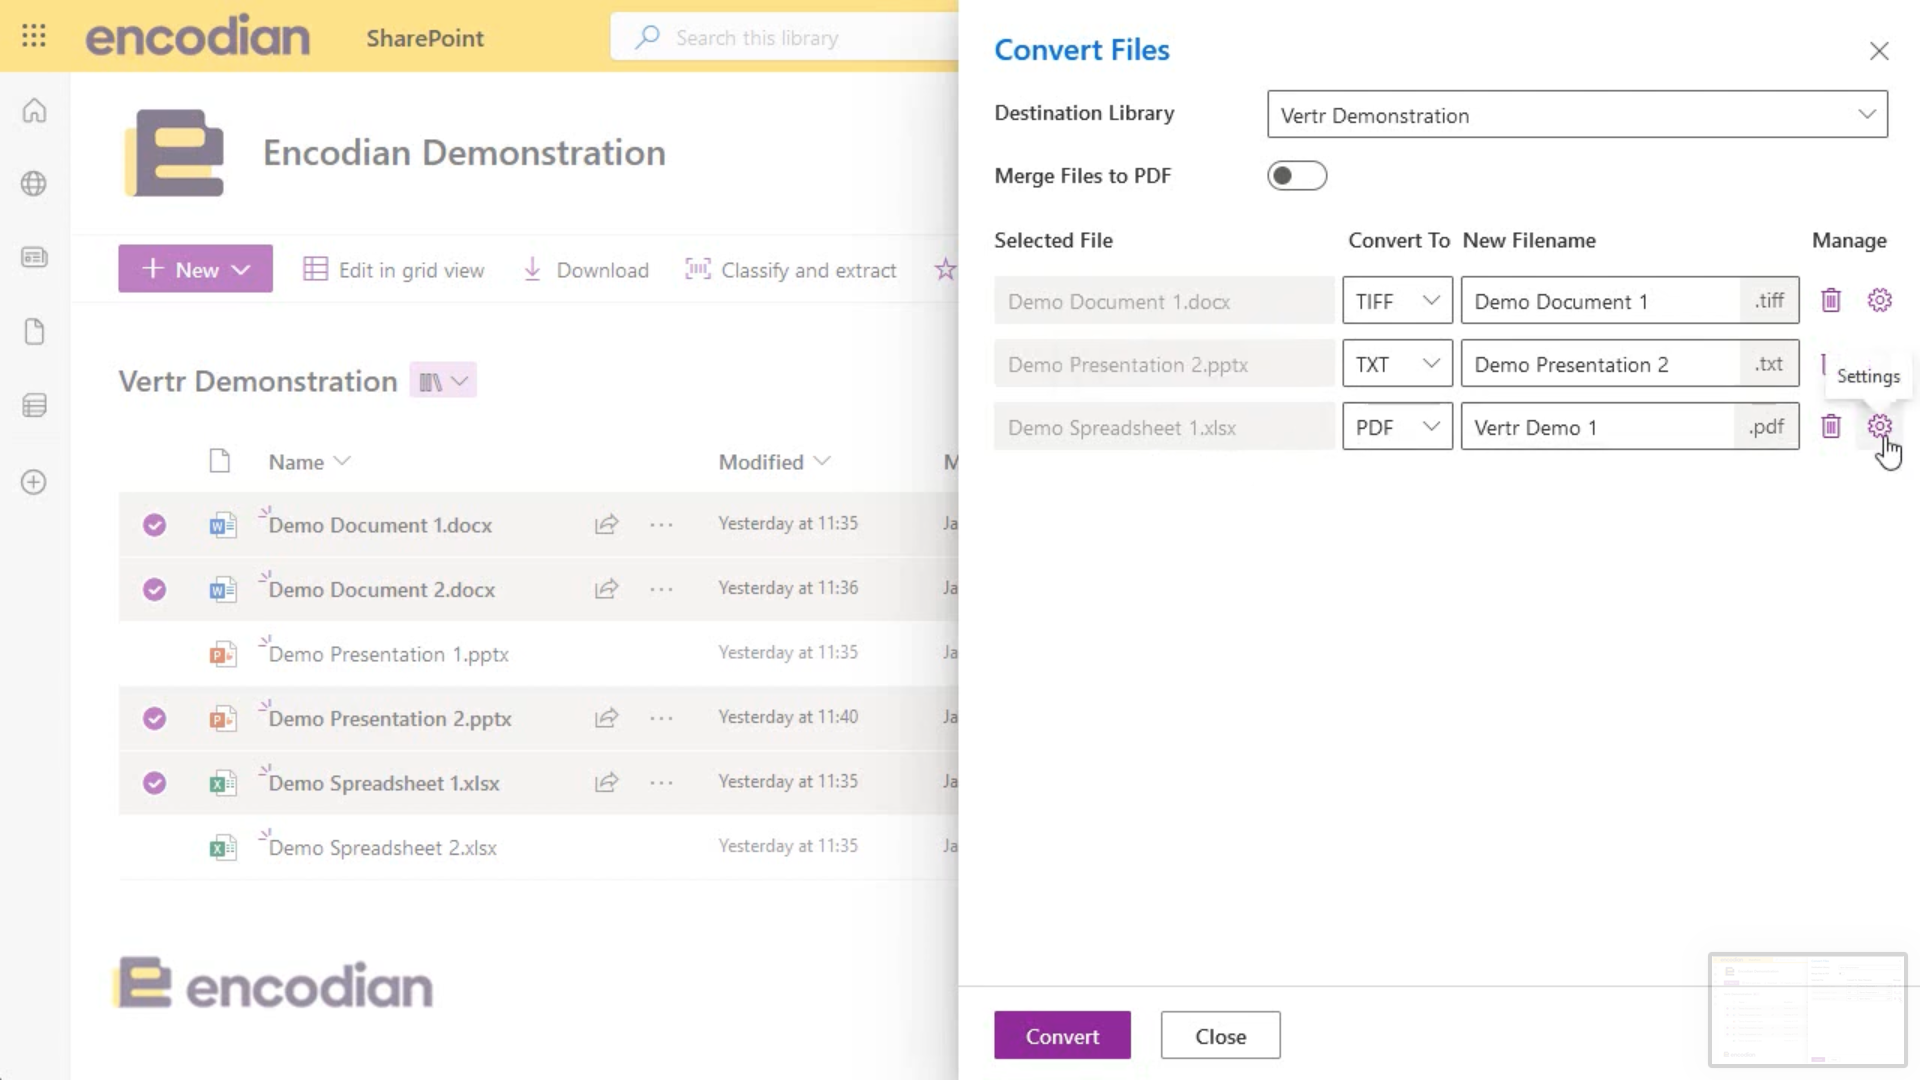
Choose how you would like to configure your converted documents.
Please note that each configuration is contextual to your selected output file format. For example, the configuration for HTML documents will be different for PDFs.
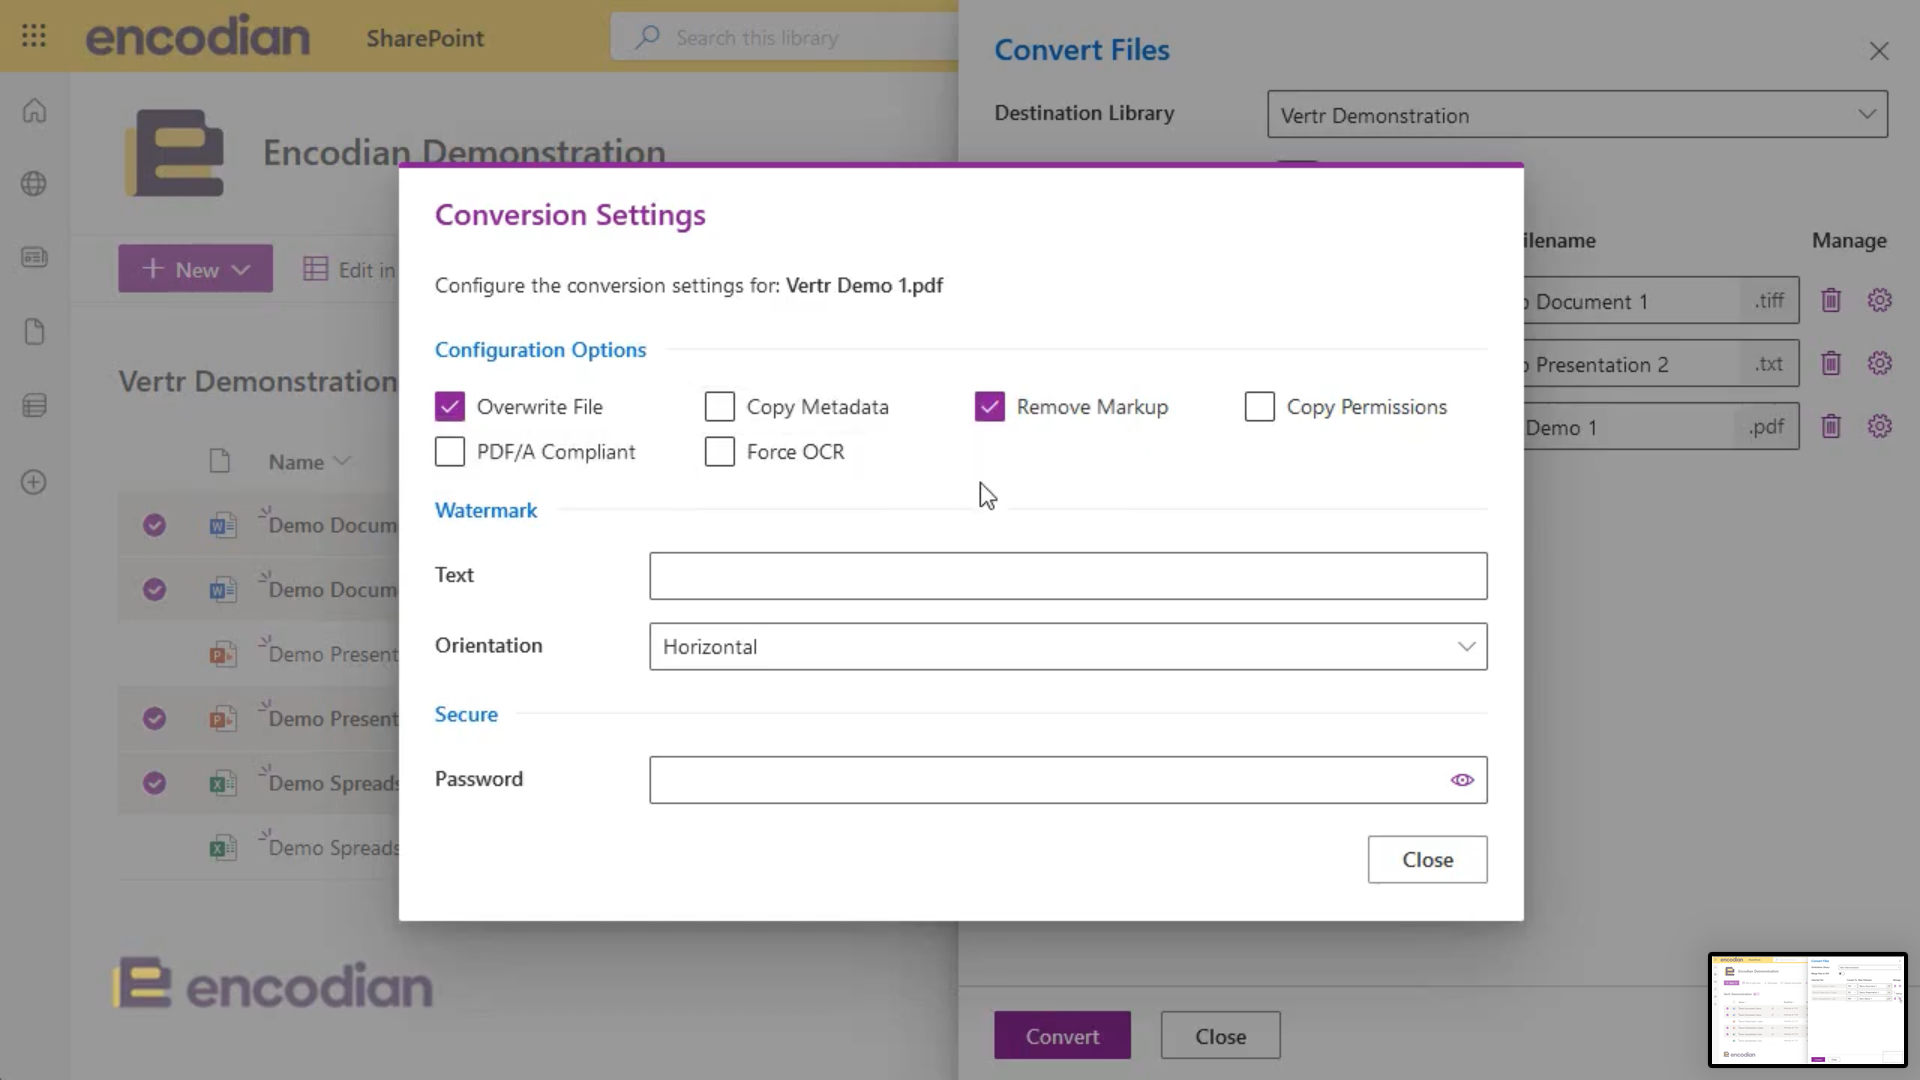
There are loads of ways you can configure your new document, and each of them is contextual to which format you have selected to convert to. In this example, we chose to convert to PDF so we can choose to overwrite our file, remove markup, copy permissions and metadata, ensure the document is PDF/A Compliant and even Force OCR!
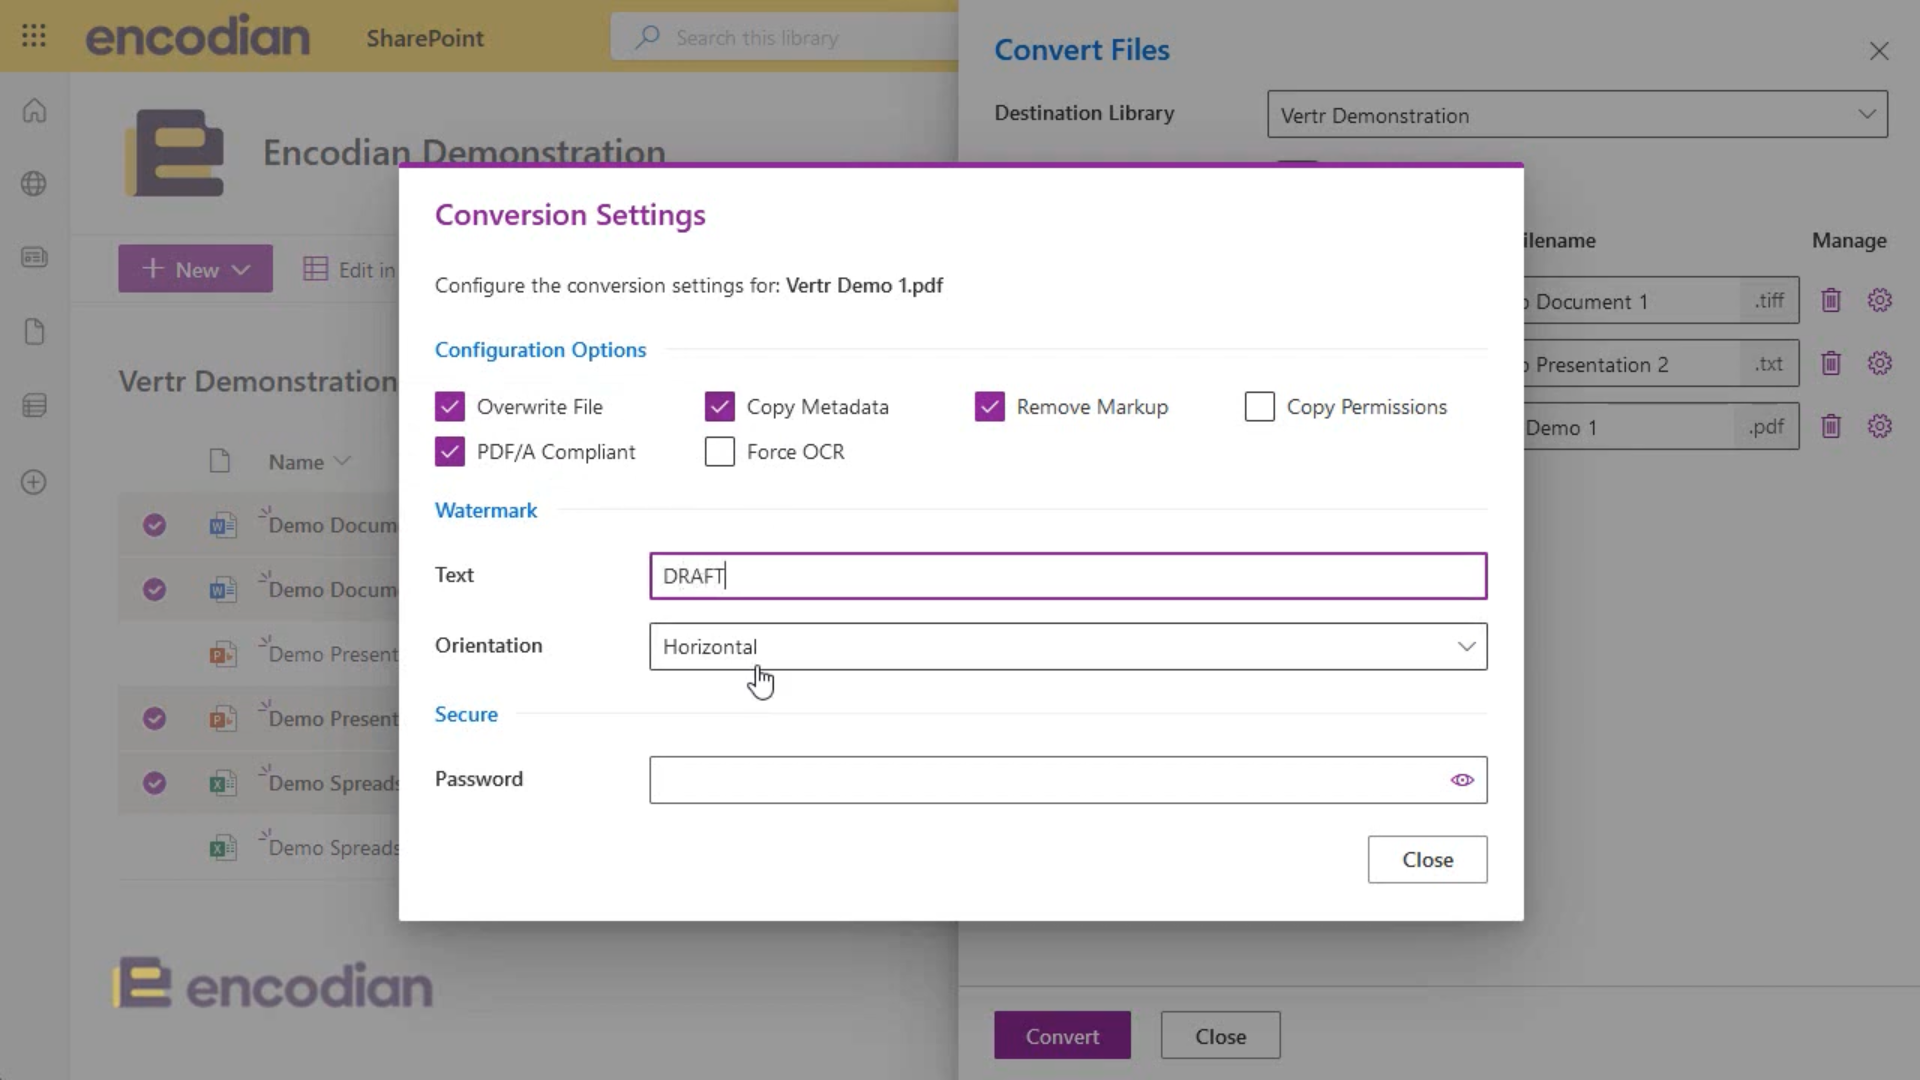
You can add a text watermark to your converted document easily by typing in what you want it to say and then choosing the orientation of the watermark – either Vertical, Horizontal or Diagonal.
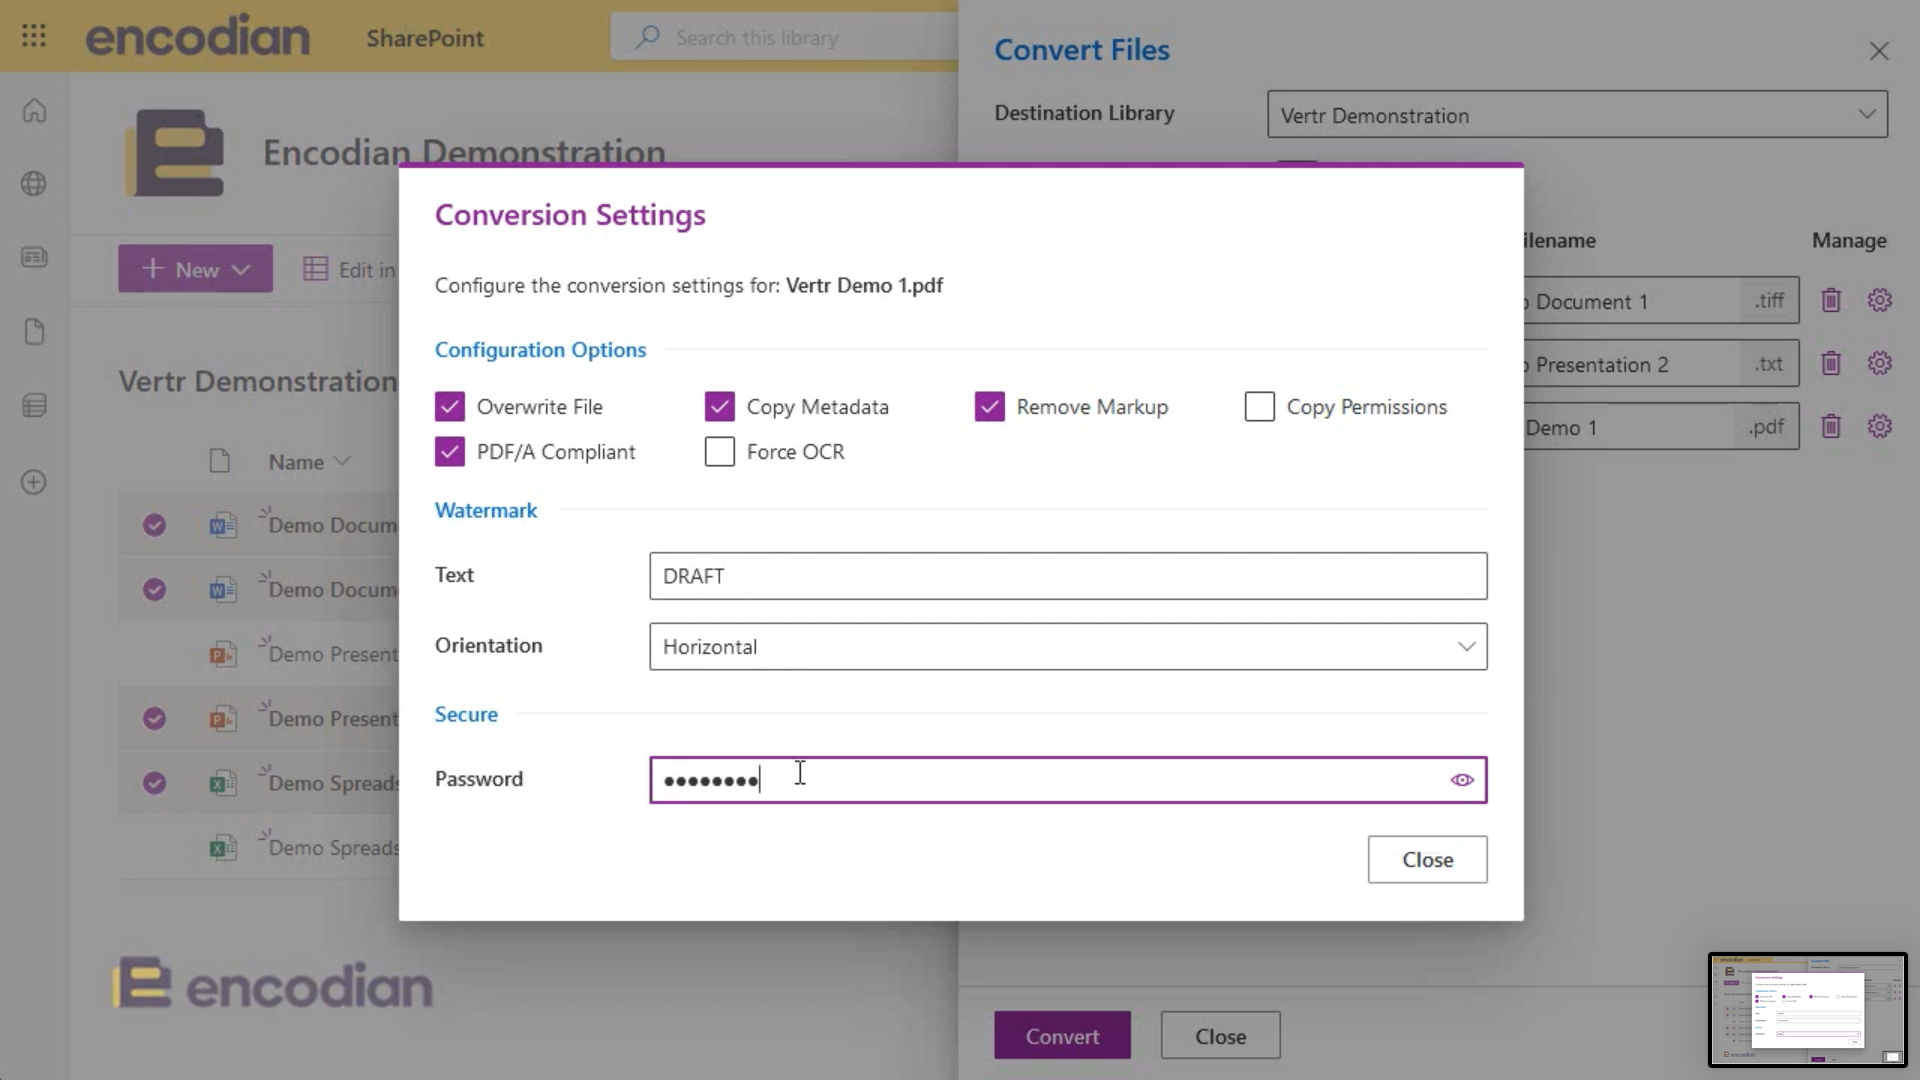
If you need to secure your document to ensure only specific people in your organisation can access it, you can add a password.
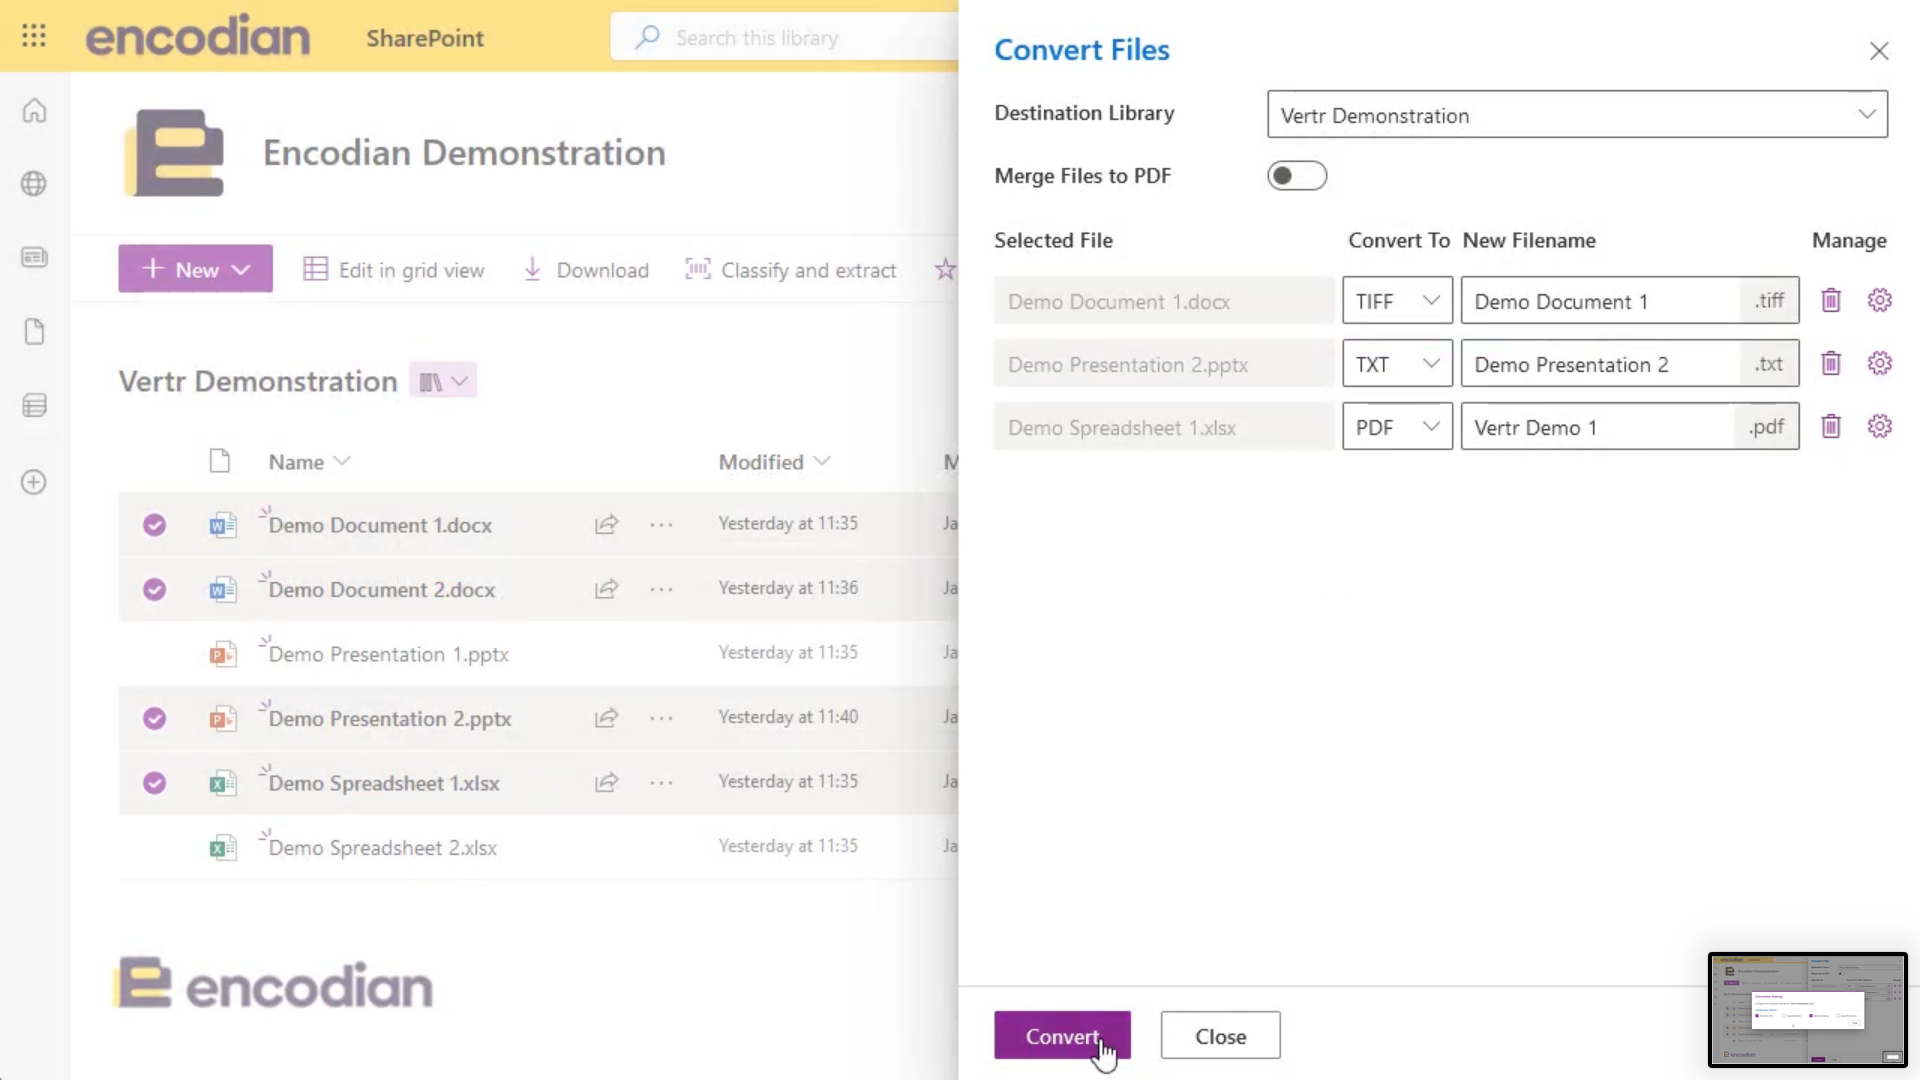
As soon as you click Convert, your documents will begin processing.
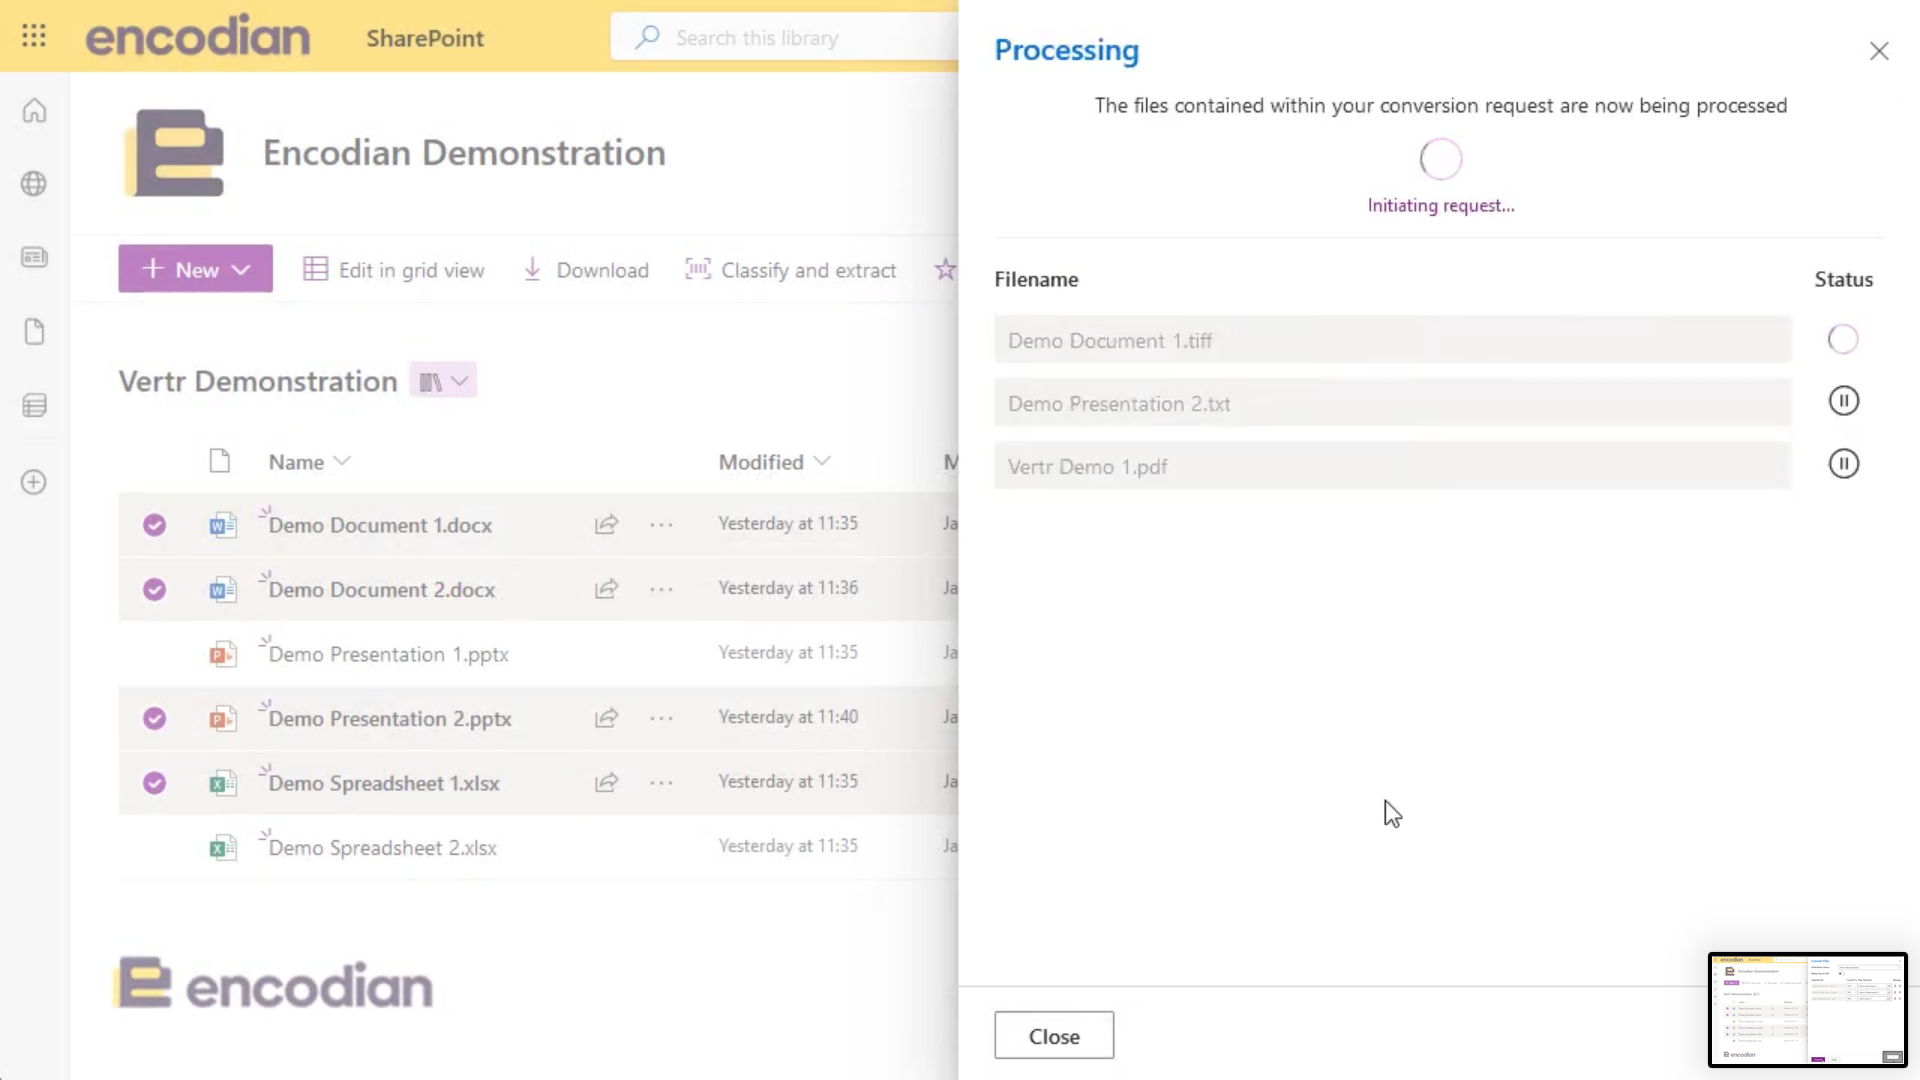
Whilst we’re processing and converting your documents, you can see the status of each.
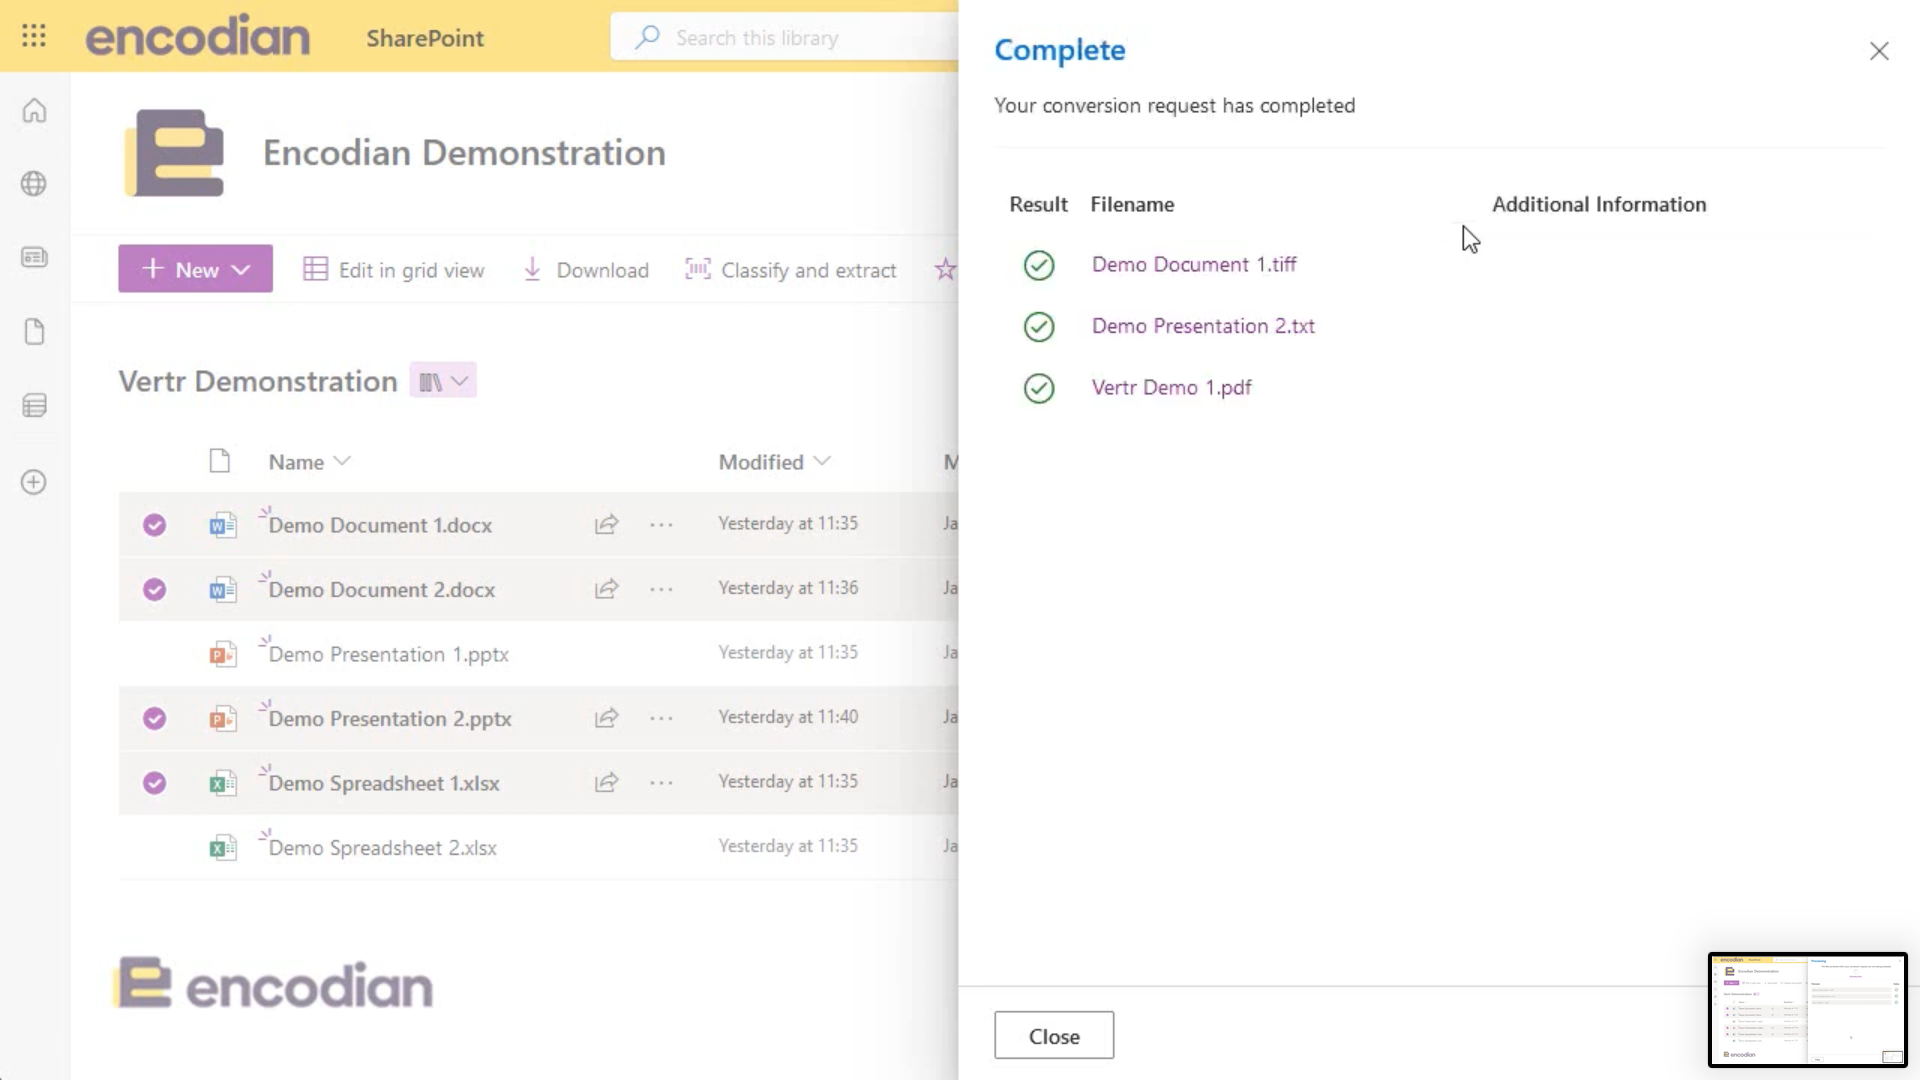
To let you know that your documents are converted, we will give you links to all your new documents for you to check out immediately.
If you can’t see your documents, refresh! You may have checked the wrong folder if you still can’t see them. Always check for your document in the folder you selected as your Destination Library.
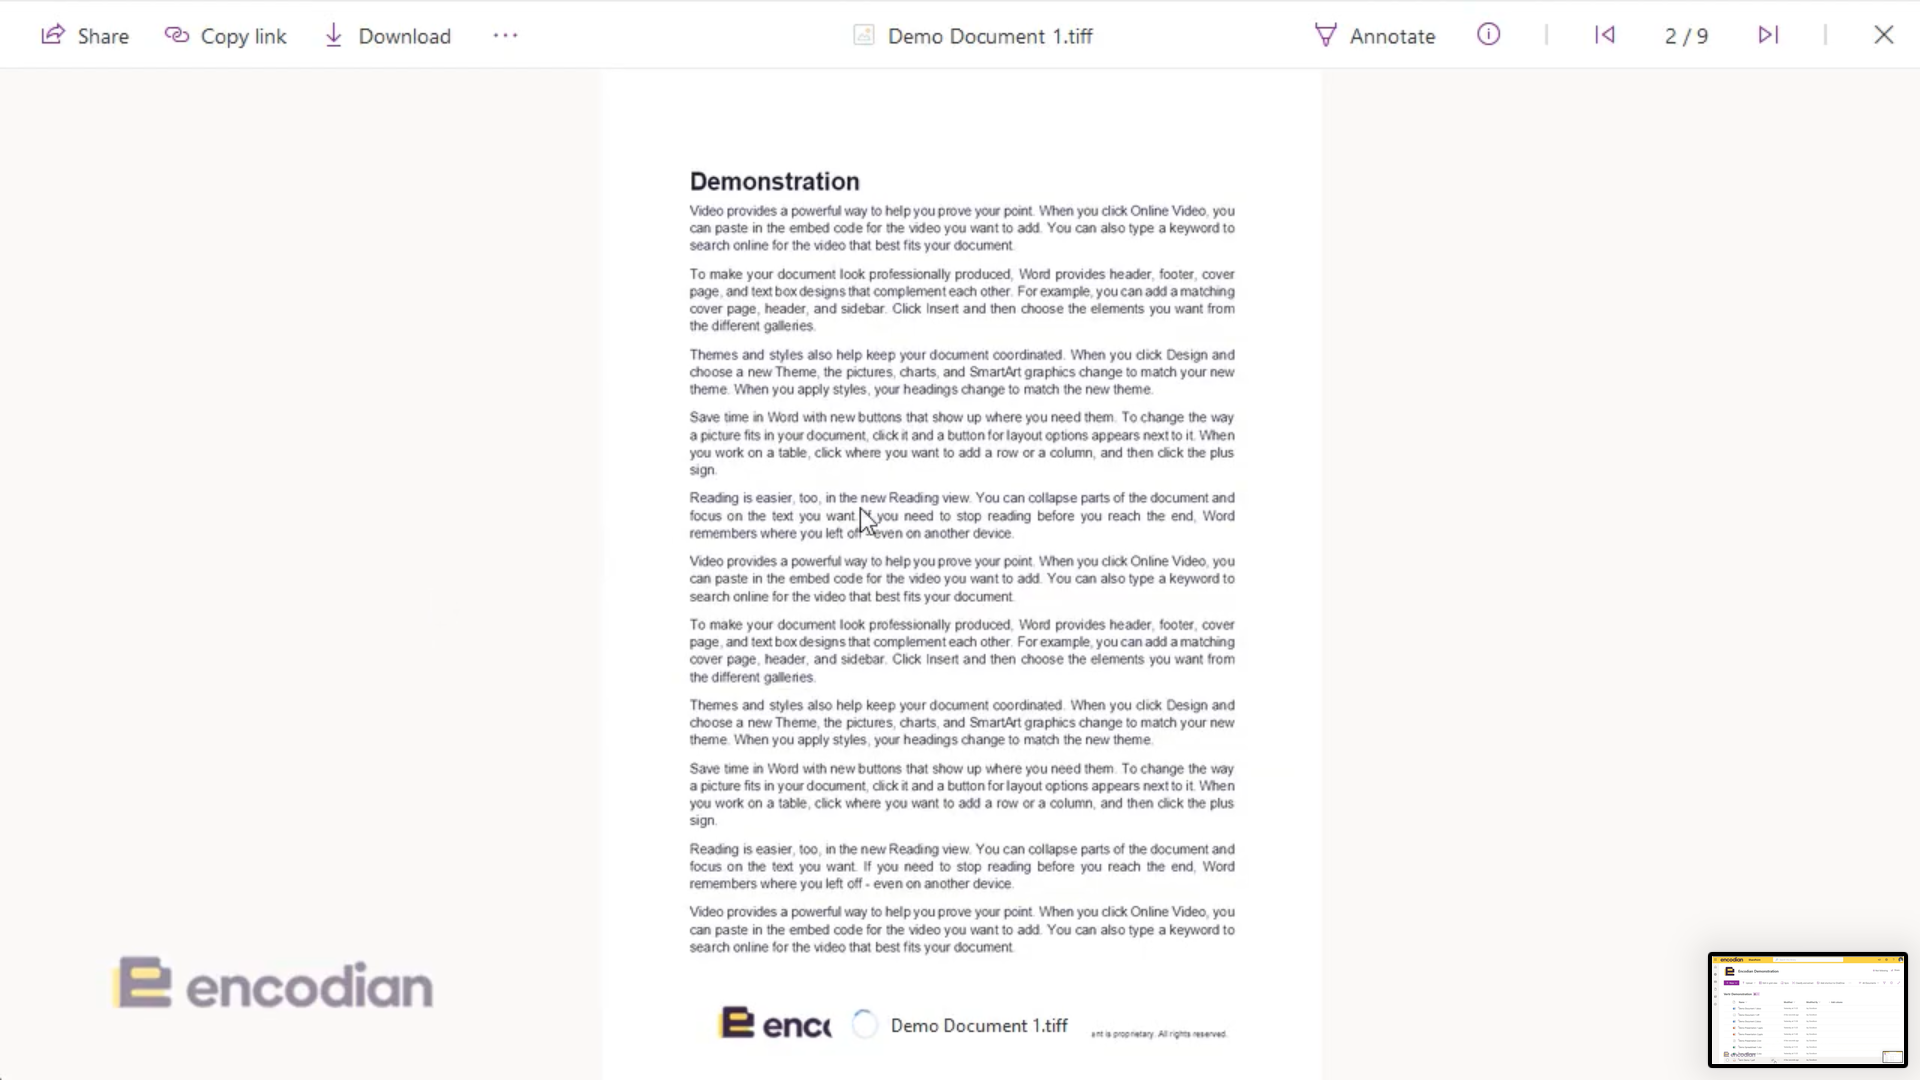
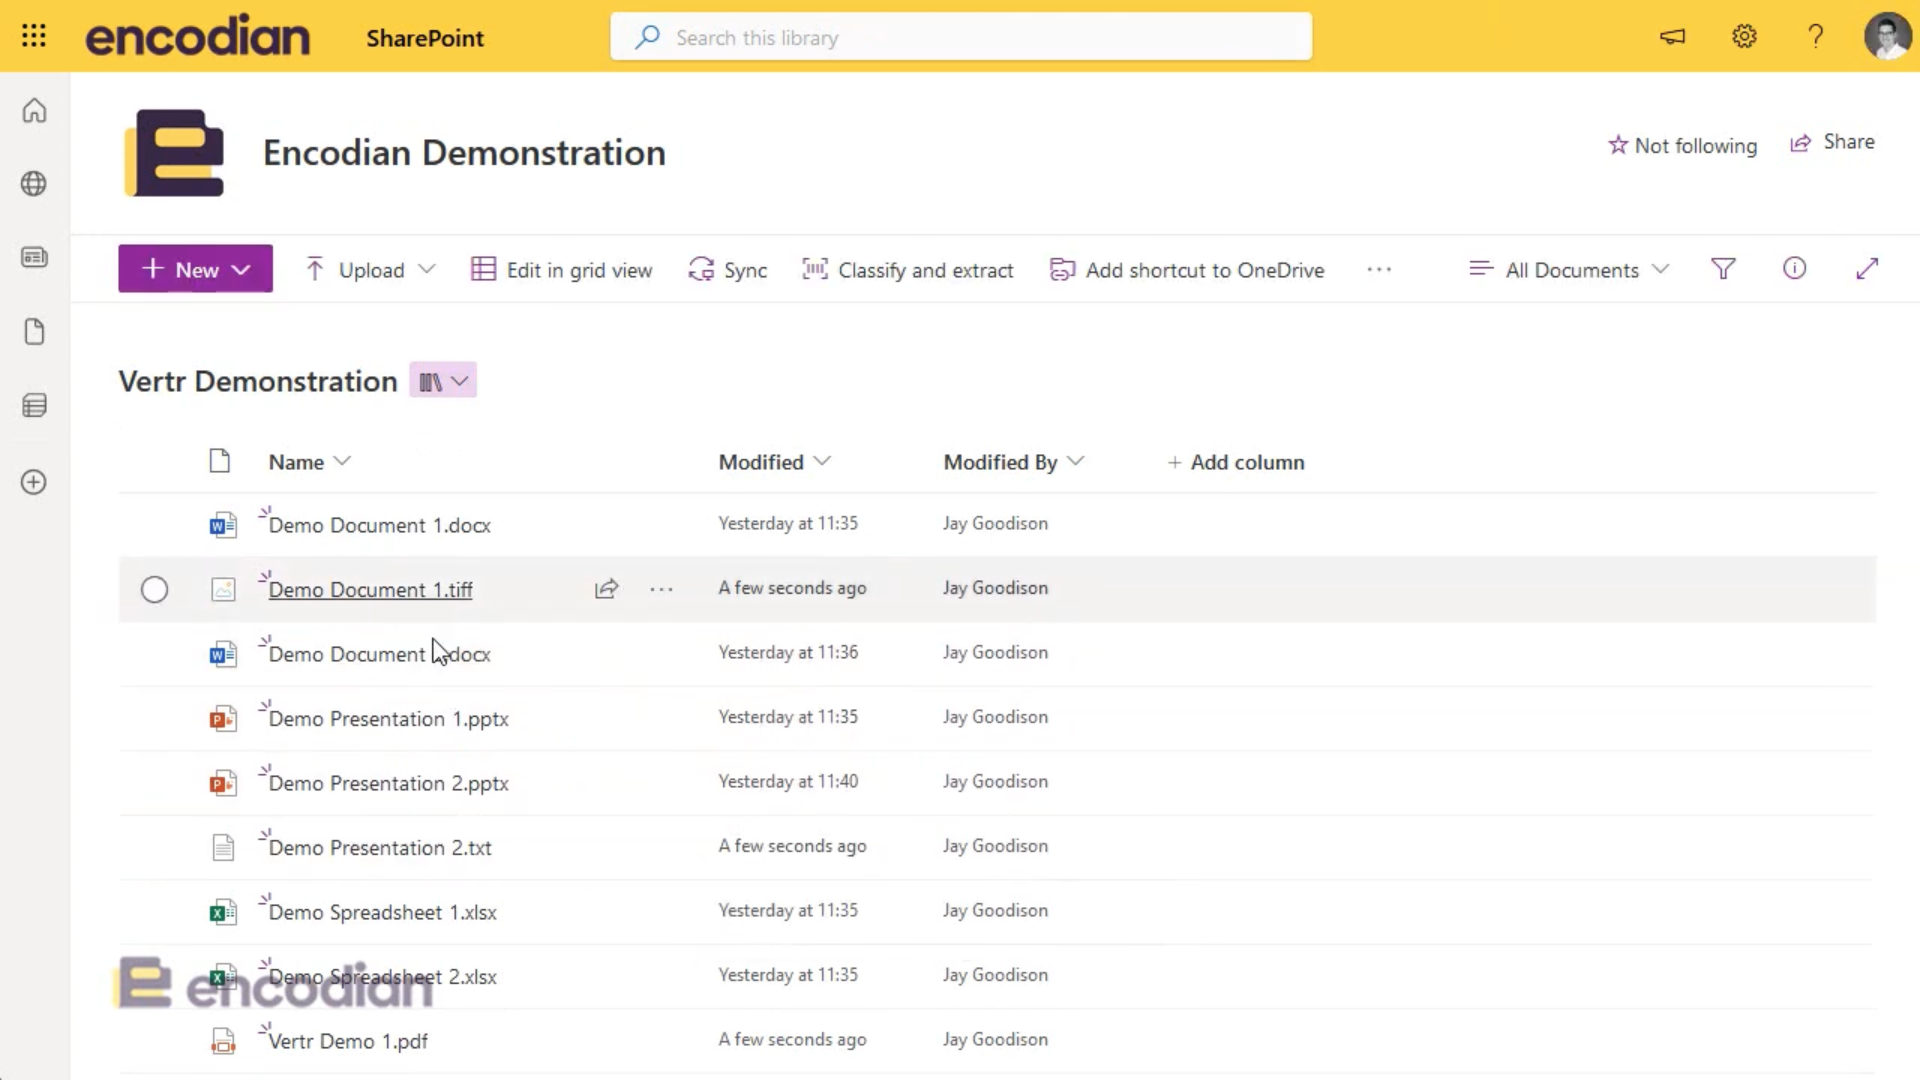
Check out your newly converted documents, and check that any watermarks and passwords are configured correctly.
You now have your converted documents!
We hope you’ve found this explanation helpful! If you have any questions, feel free to comment below or reach out to our support team at support@encodian.com